Colt Forum banner

Working the 1858 Remington

528 views 30 replies 2 participants last post by  Sharps40  
#1 ·
Not a Colt, but still an interesting project.

Start with a useable front sight. I'll add a larger bead and its adjustable for windage and elevation. Ancient Marble Rifle sight from Numrich.

Image

Image

Image
 
#2 ·
Since neither XS, nor anybody else for that matter, makes a big bead sight for these revolvers......

This old Windage and elevation adjustable front sight came with a .060" brass bead. Prolly work well with a fine peep on a rifle for long range shooting but for a revolver and my old eyes.....bigger is better.

Over to the box of broken brass cleaning jags and with a bit of turn and drill, then some soft solder, the new bead is .105 inches diameter. Just set up a sleeve to what ever OD you need, file off one side to create the slot, flux and solder on to the original post. I suppose one of the new wonder glues would work as well, but I have a penchant for solder, and as always, I got a blob on the side to clean off....but at least none got in the threads of the shank.

I think I'll be able to pick this one up in the rear notch.

Image

Image
 
#8 ·
Barrel shortened to 3 1/8 inches. Crowned 11 degrees and the edges of the octagon beveled and smoothed. Front sight dovetail cut and blued and an Ancient Marbles elevation adjustable bead sight installed (.060" bead fitted with a soldered on sleeve to end up with a .110" dia bead.) Sail shortened, probably needs some of the s-curve returned to the underside....and made and installed a hidden automatic latch.

Image

Image
 
#9 ·
Can't do a full Bisley grip without cutting and welding....but I can get Bisleyesk features on the front and back strap. I can also make room between the front strap and the trigger guard so it doesn't bust knuckles or as bad....(a common complaint with these).

.250 front strap, thinned from the strain screw to the trigger guard, removing about 1/8 inch of metal, see the scribe line in photo one.

Photo 2 shows the rough in complete.

Photo 3 shows the grips profiled to the front strap....additional thinning of the grips is indicated.

Photo 4 shows the win....room for my knuckle, and with arthritis, that's a big win.

Image
Image
Image
Image
 
#21 ·
Finishing up.

All the parts laid out. Frame and cylinder rubbed out with vinegar and 0000 steel wool to remove much of the factory blue. Trigger guard aged toast brown with BWC Super Blue. Rear sight channel opened up to use with the much larger front bead sight. Pretty much all fitted, tested and here, cleaned and oiled with Hoppes 9 Oil.

Image
 
#23 ·
First photo, hammer and coil mainspring assembly laid out in the position the parts will be in when fully assembled inside the frame. Note, lower factory roller hole for leaf spring is retained, coil or leaf spring is now usable on the gun. Also, at the bottom of this photo is the new plunger, spring and 6-48 plug screw to actuate the cylinder hand. No more broken hand springs for this revolver.

Image


Second photo, assemble the marlin strut, facing up, into the top most hole drilled earlier in the hammer. The pin can be a running fit (not staked) as when the hammer screw is installed, the hammer strut pin is fully retained inside the frame and can't fall out. Simply push the hammer down into the frame just like you always do to install the hand and its threaded pin. I have the marlin strut drilled for a spring retention pin, so, assembly/disassembly can be done with the coil spring captured on the strut.

Image


Third photo, just the entire main spring assembly in place and held captive by the strain screw. I used a spring foot a bit thinner than the leaf spring slot, it lets me slide the assembly in and out easily. The shim at the base isn't necessary but I put it in to help tighten the spring foot in the slot.

Image
 
#26 ·
Just off the range and fired both dedicated 45 ACP revolvers with Blazer Brass 230g Plated TMJ round nose and Federal Syn-tech 205g Hollow Points. Fired brass simply falls out of the chambers. Both guns handle both loads equally well, with the 1858 Remington adjustable sight bottomed out, it hits high, so some adjustment needed. The 1860 Colt hits a touch high when I can see all of the horse head in and above the hammer notch. These are 5-7 yard engagements on steel, so, really, both can simply be point shot ignoring the rear sights. But the Colt is nice, it sights like a shotgun.
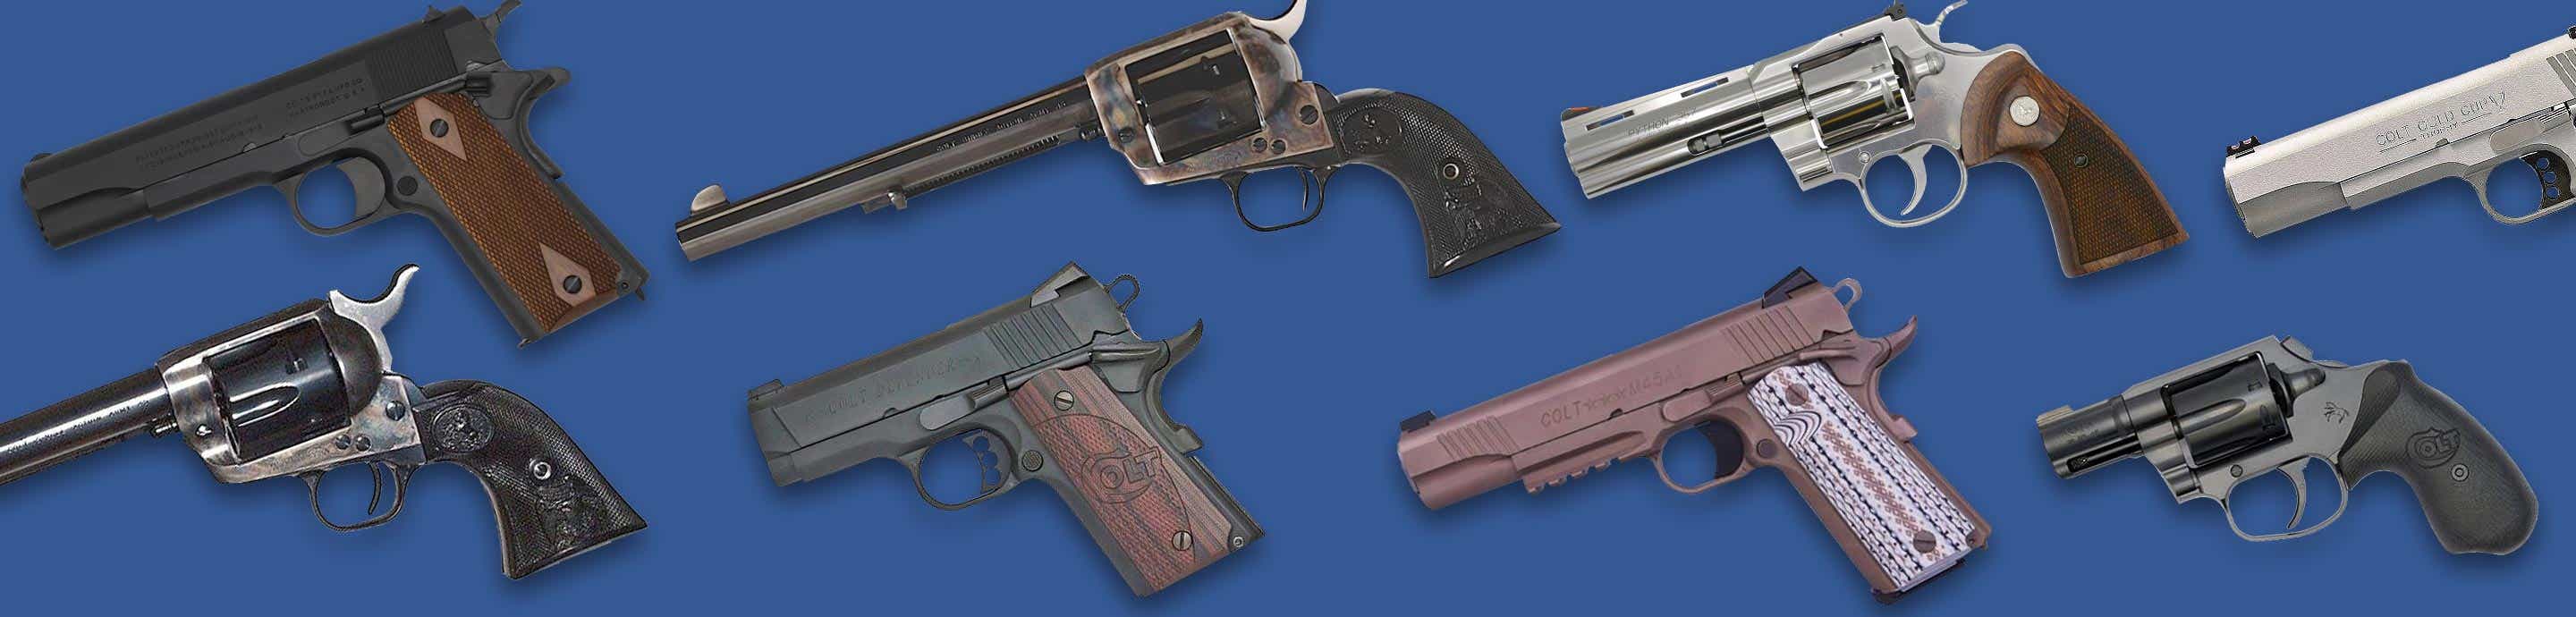

The Colt 1860:

Pros: Smaller, lighter, slimmer, better pointing, better recoil control and less hand slap, gated cylinder, simple endshake control bushing, racier looking, many grip options, trigger guard never busts the knuckle. Cylinder safety detent.

Cons: Sights not amenable to fine target work, No coil mainspring since I'm not equipped to drill and mill MIM hammers, More parts to keep track of when disassembled. Possibly shoot loose sooner.

The Remington 1858:

Pros: Fixed barrel/top strap, coil main spring, fewer grip options, doesn't bust knuckle as bad as an unrelieved factory grip loop, adjustable front sight, 5 firing pins, cylinder safety detent.

Cons: Longer, wider, heavier, have to pocket/table/holster receiver to load and unload the cylinder, cylinder fiddly to reinstall, cylinder safety detents harder to find/visualize, still wraps the knuckle (not bad with the chosen mods/loads though....short of shooting it all day, I doubt I'd mind at all.)

Having fired both side by side for a few dozen rounds, my initial thought is to give the "I like it best" nod to the Colt 1860, though, its close. In the end, even though the 1858 is more feature rich, the 1860 is smaller, lighter, easier to shoot and easier to manipulate (load/unload/Safety and sight).

But, will see....I don't know which will go in the holster in Sept for deer season.....that'll take more shooting.

Image

Image